Showing posts with label Framelits. Show all posts

Friday, May 4, 2012

Beau Chateau - page 3


Here is page 3 in my Beau Chateau collection!  I'm still not sure what I'll do with these pages, but I'm having fun making them!
Today's page had no pink in it, just Marina Mist and Soft Suede (and Very Vanilla), so I stayed with those colors for the page.  As in the previous pages, I'm using a few reoccurring products to keep the pages tied together. 

 Today's scalloped envelope is meant as a decoration, so is closed. The Chantilly Lace trim is attached with Glue dots to make the ruffled pattern below the scallops. I love this look! The flower is made with the Bojo Blossoms punch - it punches all 3 flowers at one time, then I curled the edges up a little and layered them, finishing it off with a pearl.
To make the 2 border pieces, I made one large Framelit, and then cut out the middle section.  But don't worry, I'll use that paper with punches to make accents throughout the other pages!  Again, a few pearls to make it pretty....

And the Chantilly Lace trim along side the photo panel is attached with Glue Dots.

Thursday, May 3, 2012

Beau Chateau - Page 2


Okay, so I failed to do a little check-up of yesterday's post, and I realized that I had the wrong full-page posted, because the extra details were for the wrong page.  But I've corrected that now, so be sure to go check out yesterday's full page layout.

 This framelit is actually from yesterday's page, but I made all of the frames to look the same, to carry throughout all of the pages.  Remember, I punched them all out at once, having several sizes.  I punched 3 flowers using the Itty Bitty Shapes Punch Pack, and then added pearls from our Basic Pearls Jewel pack.  This is a great spot to add some journaling, or names of those in the photos.
Here is a view of both pages together, although I don't know if I'd leave them together, or perhaps have the Cherish page at the front of the book, and the Memories to end the book with...  I have a few more pages finished, so I'll show them over the next day or so!

Wednesday, May 2, 2012

Scrapbooking - Beau Chateau

Hi there!  I've been busy working on scrapbook pages, even though I don't scrapbook for myself.  I do some digital scrapbooking, and should go back and post what I've made so far using My Digital Studio....hmmm...gonna have to start blogging more while watching Dancing with the Stars!

I'm not certain what I'll do with these pages; I'll most likely take them with me to the Camp Harmony Scrapbooking weekend in November, in hopes to sell them.  Or I'll figure out how to set up an Etsy store.  Either way, these were fun to make, and this DSP (Designer Series Paper) was great for leaving journaling sections.

To make those journaling sections, I used the Frames Collection Framelits....I put all of the Framelits onto one piece of Soft Suede cardstock.  Running it through the Big Shot cuts all of the frames at once.  Then, I can use each sized frame on the different pages (there are more to follow!)

To add a little interest, and to use up some retiring product, I made this lovely scalloped envelope, and attached a framelit piece stamped with an image from the Apothecary Arts stamp set.  This would be great for a date/location.  It is all held together with a mini library clip.
For the flower detail, punch 2 pieces of Pink Pirouhette with the Blossom Punch, and 2 petals in Soft Suede with the Blossom Builder Punch.  Add a Marina Mist 3/4" circle and a scrap of Chantilly 1/2" Crochet Trim.

Here's another close-up of the bottom detail.  The crochet trim is gathered by runnning thread through one side, then pulling it to gather and scrunch it up a little.  I initially tried to sew the trim to the scalloped strip of DSP, but that was taking too long, so I just tacked it to the page with mini glue dots.
More to come!

Wednesday, April 11, 2012

Regionals Swap


Today's card is one of my swaps from Regionals in Columbus, OH.  I made about 20 or so of this card and no matter how many cards I get finished, I always wish I had more to swap!  This card features the Apothecary Arts stamp set, and the Frames Collection Framelits.  This particular stamp is made to be used in the larger frame, but I wanted to be able to layer it....so I stamped the image, and then cut it down smaller, so it would fit the next layer.  The flowers took a bit of time to color, but they were just colored with my Stampin' Write Markers.  I used the writing side and just kind of scribbled a bit on the flowers, adding more color to the insides, to deepen the color.  I spent a good deal of time on these, and so when I decided that I wanted more swaps to trade, I knew I would have to come up with something simpler....but I haven't photographed that one yet....I'll get back to you with my other swap another day!


Sunday, April 8, 2012

My Easter Card for 2012


 Christ is Risen!  He is Risen Indeed!
I hope that you have a day full of blessings, on this most wonderful day of grace!


I made about a dozen of this card, and I wish I had time to make a dozen more.  You could put anything in that framelit....Happy Birthday, Thanks, Thinking of You...

I wish I had a REJOICE stamp, but the closest I had was JOY, so I went with that.  I will have to invest in a new Easter stamp set once the new catalog comes out.

I have wanted to try this quilted look for a while, but just hadn't done it.  These colors worked well together.


Sunday, March 25, 2012

Happiest Birthday

My mother-in-law's birthday is on Groundhog's Day, and she commented last year on how my cards always get to her right on her birthday.  And I laughed because being on time is something that I truly struggle with in life.  Well, she must have jinxed me, because I did not get her card to her on time.  But that does not mean that I love her any less.  I have a fabulous mother-in-law; she's supportive, helpful, and wonderfully kind to me and my kids.

I wanted to make a special card, using some of our new products, but not necessarily in the usual way.  Starting with the Apothecary Art stamp I chose....this one is meant for a larger frame, but I cut it with a smaller one so that I could layer the next frame.  That next frame is Pool Party cardstock, cut out then sponged with Soft Suede ink, while still in the framelit.  Then there is a Soft Suede strip cut out and layered on as well.  I colored the flowers with markers, and sponged the edges with Soft Suede.  I hope she liked it!
Recipe:  Stamps:  Apothecary Art, Bordering on Romance
Cardstock:  Pool Party, Soft Suede, Very Vanilla
Accessories:  Markers, Big Shot, Framelits, sponge

Tuesday, January 31, 2012

Leadership Classes - Why Women Buy

Before I go into some of the class information that I learned, I wanted to share another wonderful sample that showcases Sale-a-Bration!  Lookie at this adorable card.  I love all of the bright colors used here, and how Celebrate is colored in (you could use Stampin' Write Markers, or if you don't have those, a blender pen and ink pads would work well too).  If you place a $50 order, you can choose the Outlined Occasions Stamp set as your FREE item, a set of 6 stamps.  Click HERE to place your order!

While Leadership is a ton of fun, and we get spoiled with great food, prizes, and swaps, it is also loaded with training to help us grow our business.  Leadership has been a great motivator for me to go out and try to make a few friends, and to get a workshop or two onto my calendar.  Moving always causes my business to just about come to a stand-still, and I have been stuck in my shell longer than usual this particular move, so now it's time to get myself out there!

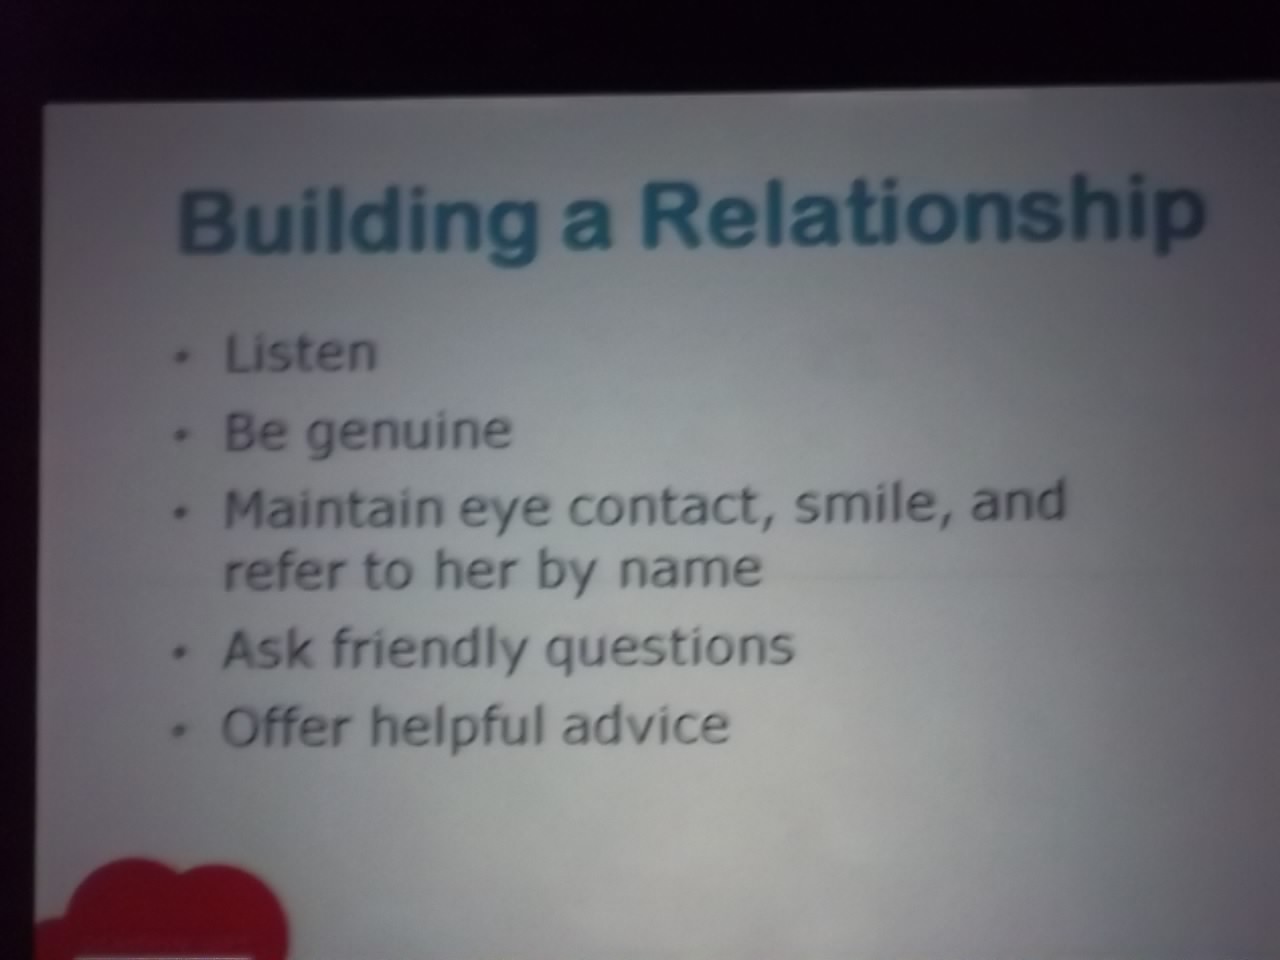
One of the classes I attended was called Why Women Buy....  Carrie Cudney did a great job of showcasing some of the key points of why women may choose to buy from a demonstrator, instead of a chain retailer.  The main thing is RELATIONSHIPS.  We women need each other....I remember when I had 4 very young children, (ages 5, 3, 1, and newborn), we made a major move to Memphis.  I actively sought out ways to build relationships.  I joined 2 MOPS (Mothers of Pre-Schoolers) groups, which is probably against the rules, and a Bible Study so that I was guaranteed to be out of my house, and with other women at least 7 times a month!

 
 I look back on that time, and can smile, because even though it was challenging, I made some wonderful friendships that have lasted through 3 more moves...in fact, last year I was able to have a mini-reunion with Jennifer, a mom in Memphis with 4 kids the same ages as mine, because she was willing to come to Nashville for a night so we could visit while I was at Leadership!  Jennifer still orders from me at times, even though I've encouraged her to find another demonstrator near to her.  I think it is because she hasn't had as close a relationship with the demonstrators she has come in contact with .
  The next point Carrie pointed out, was that we tend to look for that "perfect solution" or that "terrific time saver." I do that in more than my crafting; I do that in my daily chores....cooking, cleaning, laundry, and more. That's why we love our Big Shot, and the Punches, and Stampin' Up!'s coordinating colors, stamp sets, and accessories. By taking out the guesswork (will this red ribbon match my red paper?), Stampin' Up! has made this part easy for us, by offering lots of coordinating products.


 If you are a customer of mine, you might want to skip all this and go to the stamping samples, but if you are a demonstrator that didn't attend Leadership, or that couldn't take Why Women Buy, then I hope you find Carrie Cudney's points, and my examples helpful.  Be yourself, be encouraging, and be available to your customers, and they will be supportive of you as well.


Let's finish this off with one more example showcasing Sale-a-Bration products!  One of my roommates received this card as a swap, and the creator of this card mentioned that this is a great way to use up your scraps!  I do not know the name of this technique, but I'll revisit this one sometime, and give you the details...but you could probably try your hand at playing with your scraps to create this look yourself...you can do it!!! This card features the Hearts Collection Framelits, and Sale-a-Bration DSP. Have a blessed day, bec

Wednesday, January 25, 2012

Framelits Valentine


These Valentine Treats are quick and easy!  And oh so cute!
I made them using the largest Framelits Die in the Labels Collection.  I got the idea from the front cover of the Occasions Mini Catalog. 
Let me show you what holds the candies... First, take Stampin' Up!'s Clear Envelopes, seal them, and then CUT THEM IN HALF!  This gives you two little cello bags that are just the right width to fill out the treat holder.


Put 6 Hershey Kisses in the envelope half, and then roll it down a little, and staple it closed.

Next, cut out the framelits.  You can get 4 framelits from each sheet of DSP.  As you can see, the envelopes are wide enough to fill out the treat holder. 
Take a mini glue dot and attach it to the stapled side of the clear envelope.  Attach the envelope to the framelit to keep it from sliding out of the holder.


Punch a hole with the 1/16th punch.  Then curve the edges up, thread the holes with Linen Thread, and tie it closed.  Leave your linen thread some length so that you can later tie a bow.

Stamp the Hearts from the Take it to Heart stamp set, with Poppy Parade ink onto Very Vanilla cardstock.  Using the Hearts Collection Framelits, cut your hearts out. (sorry, I know that sounds bad). 

To make the tags, stamp love onto a scrap of very vanilla, then punch it out with the jewelry punch,  Put a hole in the tag to attach it with the linen thread.

I also punched a little hole into the largest heart, and threaded the linen thread through it to make the heart stand up.  This worked great, but I still added a drop of Tombow glue to keep it in place for the trip to San Antonio.  The little heart was added with a glue dot, and another heart attached from the Fashionable Hearts Embosslits.


Here is a side view, and you can scroll back up for the front view again.

If you place an order for the:
Hearts Collection Framelits - $26.95
Take it to Heart stamp set - $23.95

Then you will have earned a FREE Sale-a-Bration item, and can get that gorgeous DSP to make lots of Valentine treats this year!

You can order here, at my website.